


OUR VINYL WRAPPING PROCESS
Before we can even consider thinking about wrapping a vehicle, we first need a plan. The chances are, you already have an idea of what you would like, so our knowledgeable team are on hand to make sure all questions are answered, ideas are discussed and areas of concern addressed before you book in for any vehicle make-over.
Whether it’s a full wrap, carbon fibre detailing or a partial wrap, we ask that you provide photographs of the vehicle so that there are no surprises for us or you on arrival with the vehicle.
Once your booking date is confirmed we are on hand for any additional advise you may need, upon arrival we will confirm the jobs details with you and check in the vehicle to record the vehicles condition on arrival.
Here is the general process of a vehicle wrap, please note we are not limited to this process and we understand all project have different requirements.
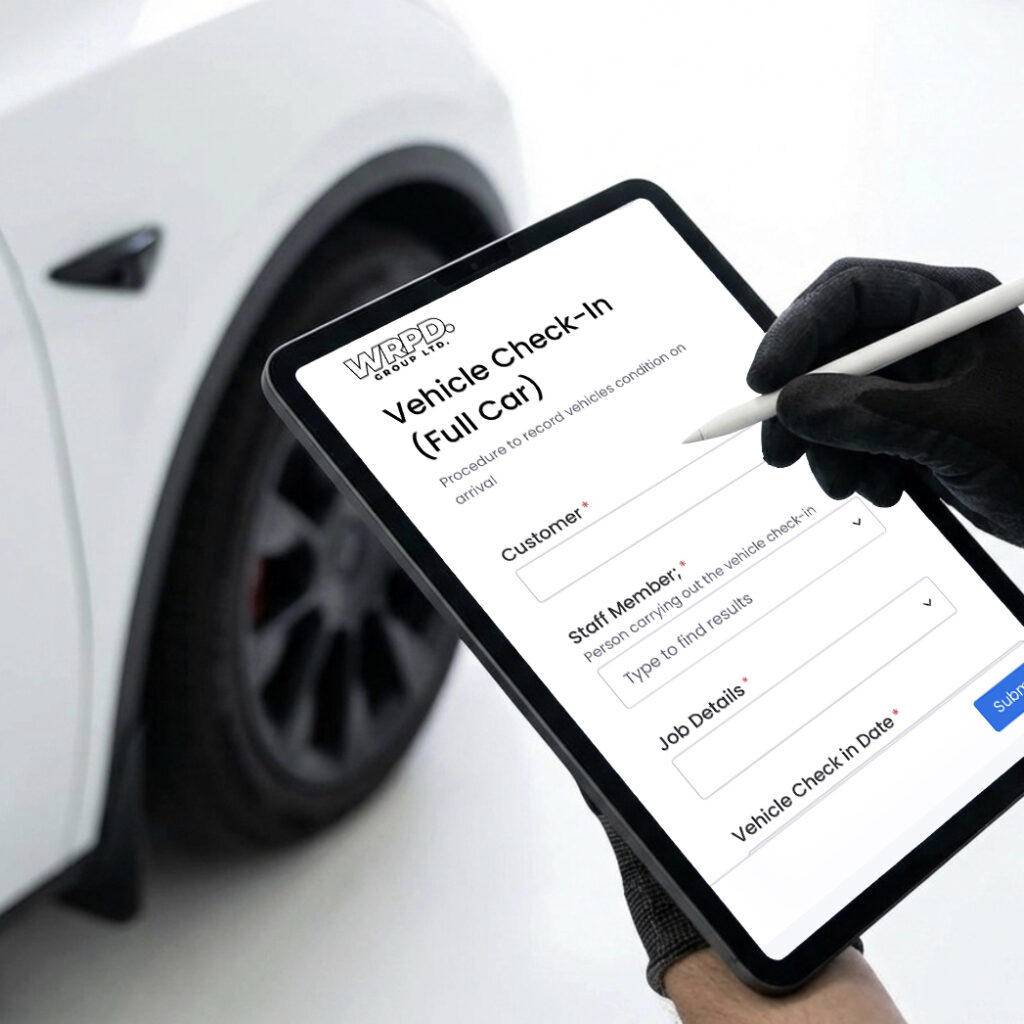
CHECK-IN
Upon arriving with your vehicle you will be greeted by a member of the team.
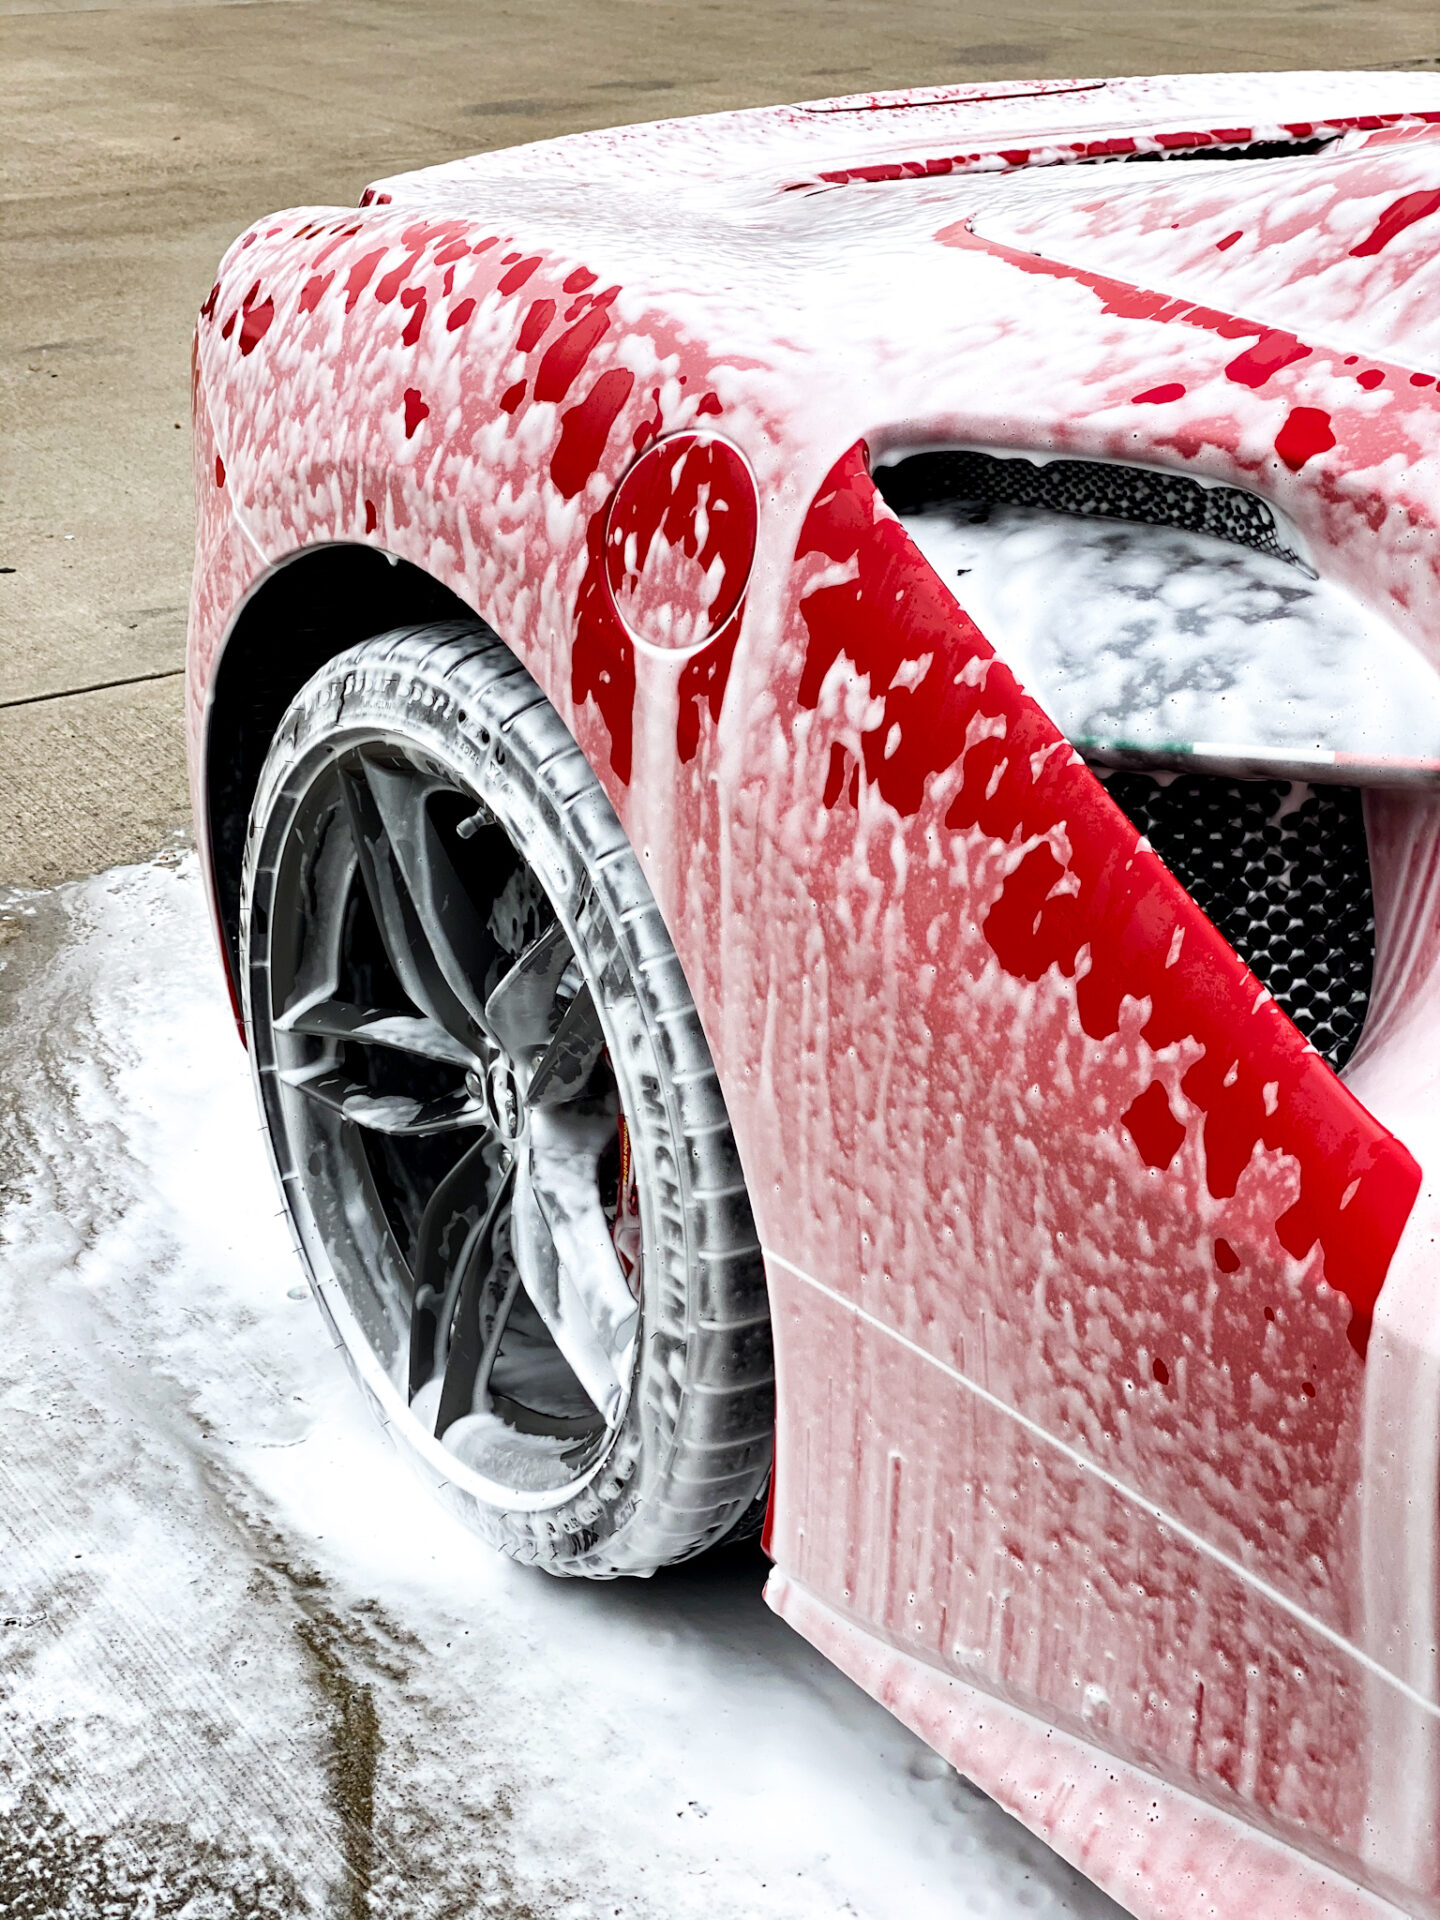
Decontamination
Your vehicle will then undergo a thorough multi-stage safe wash and decontamination.
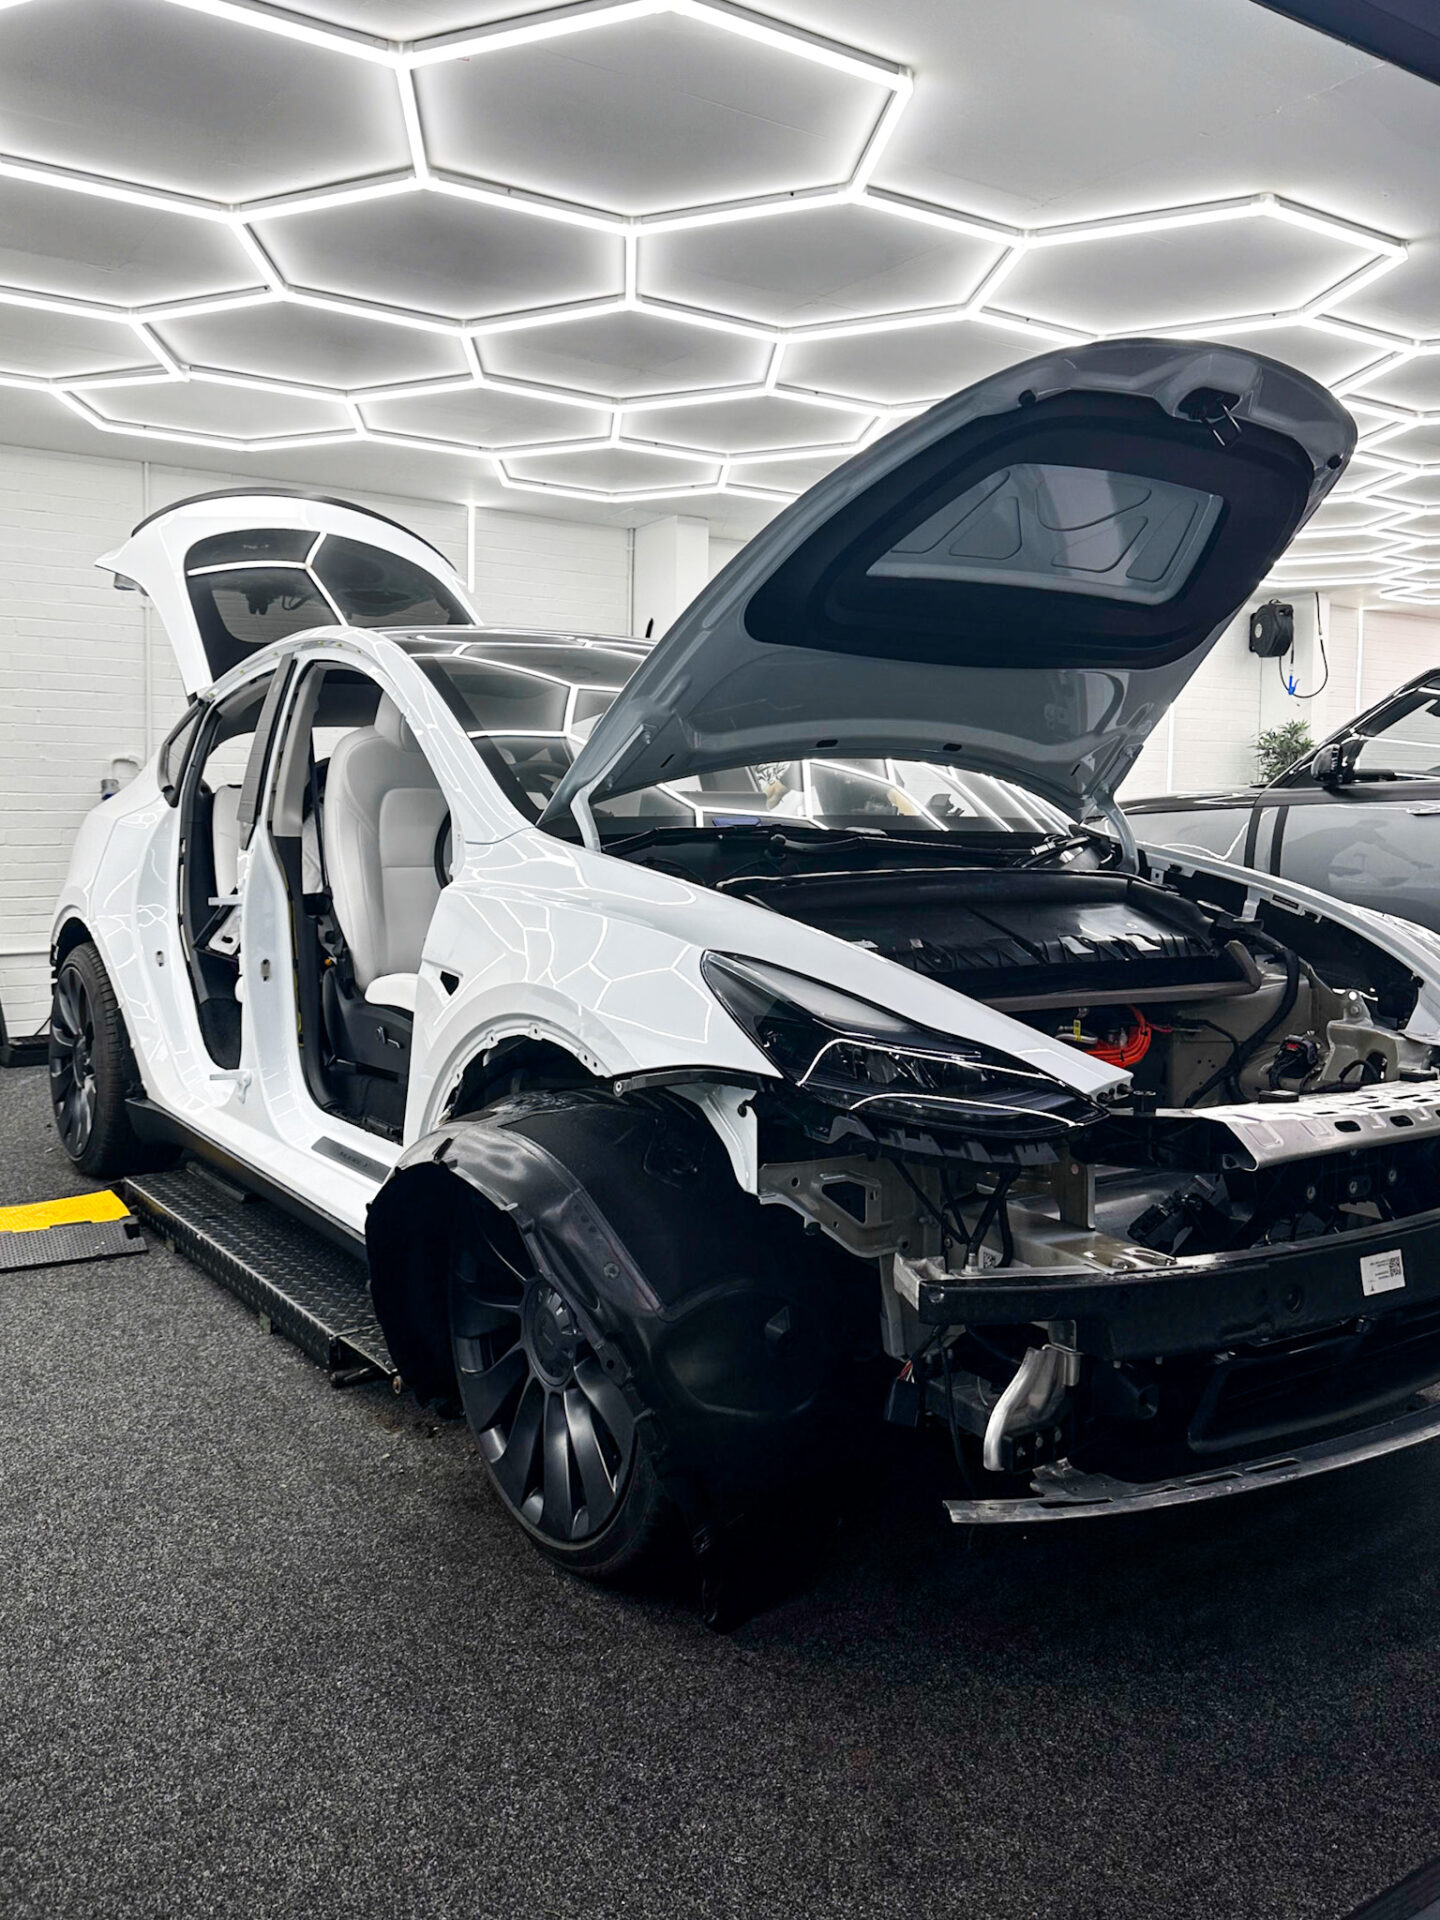
dismantling
Depending on the coverage option you have chosen will depend on what we need to remove
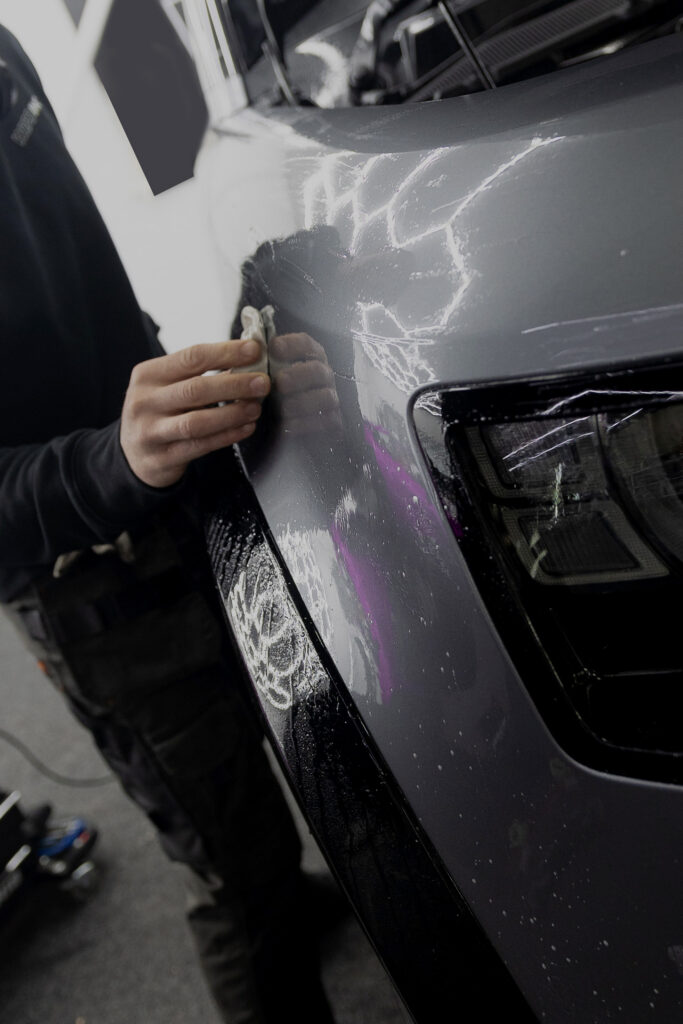
Surface prep
We carry out any surface prep needed, from alochol wipe down to machine polishing.
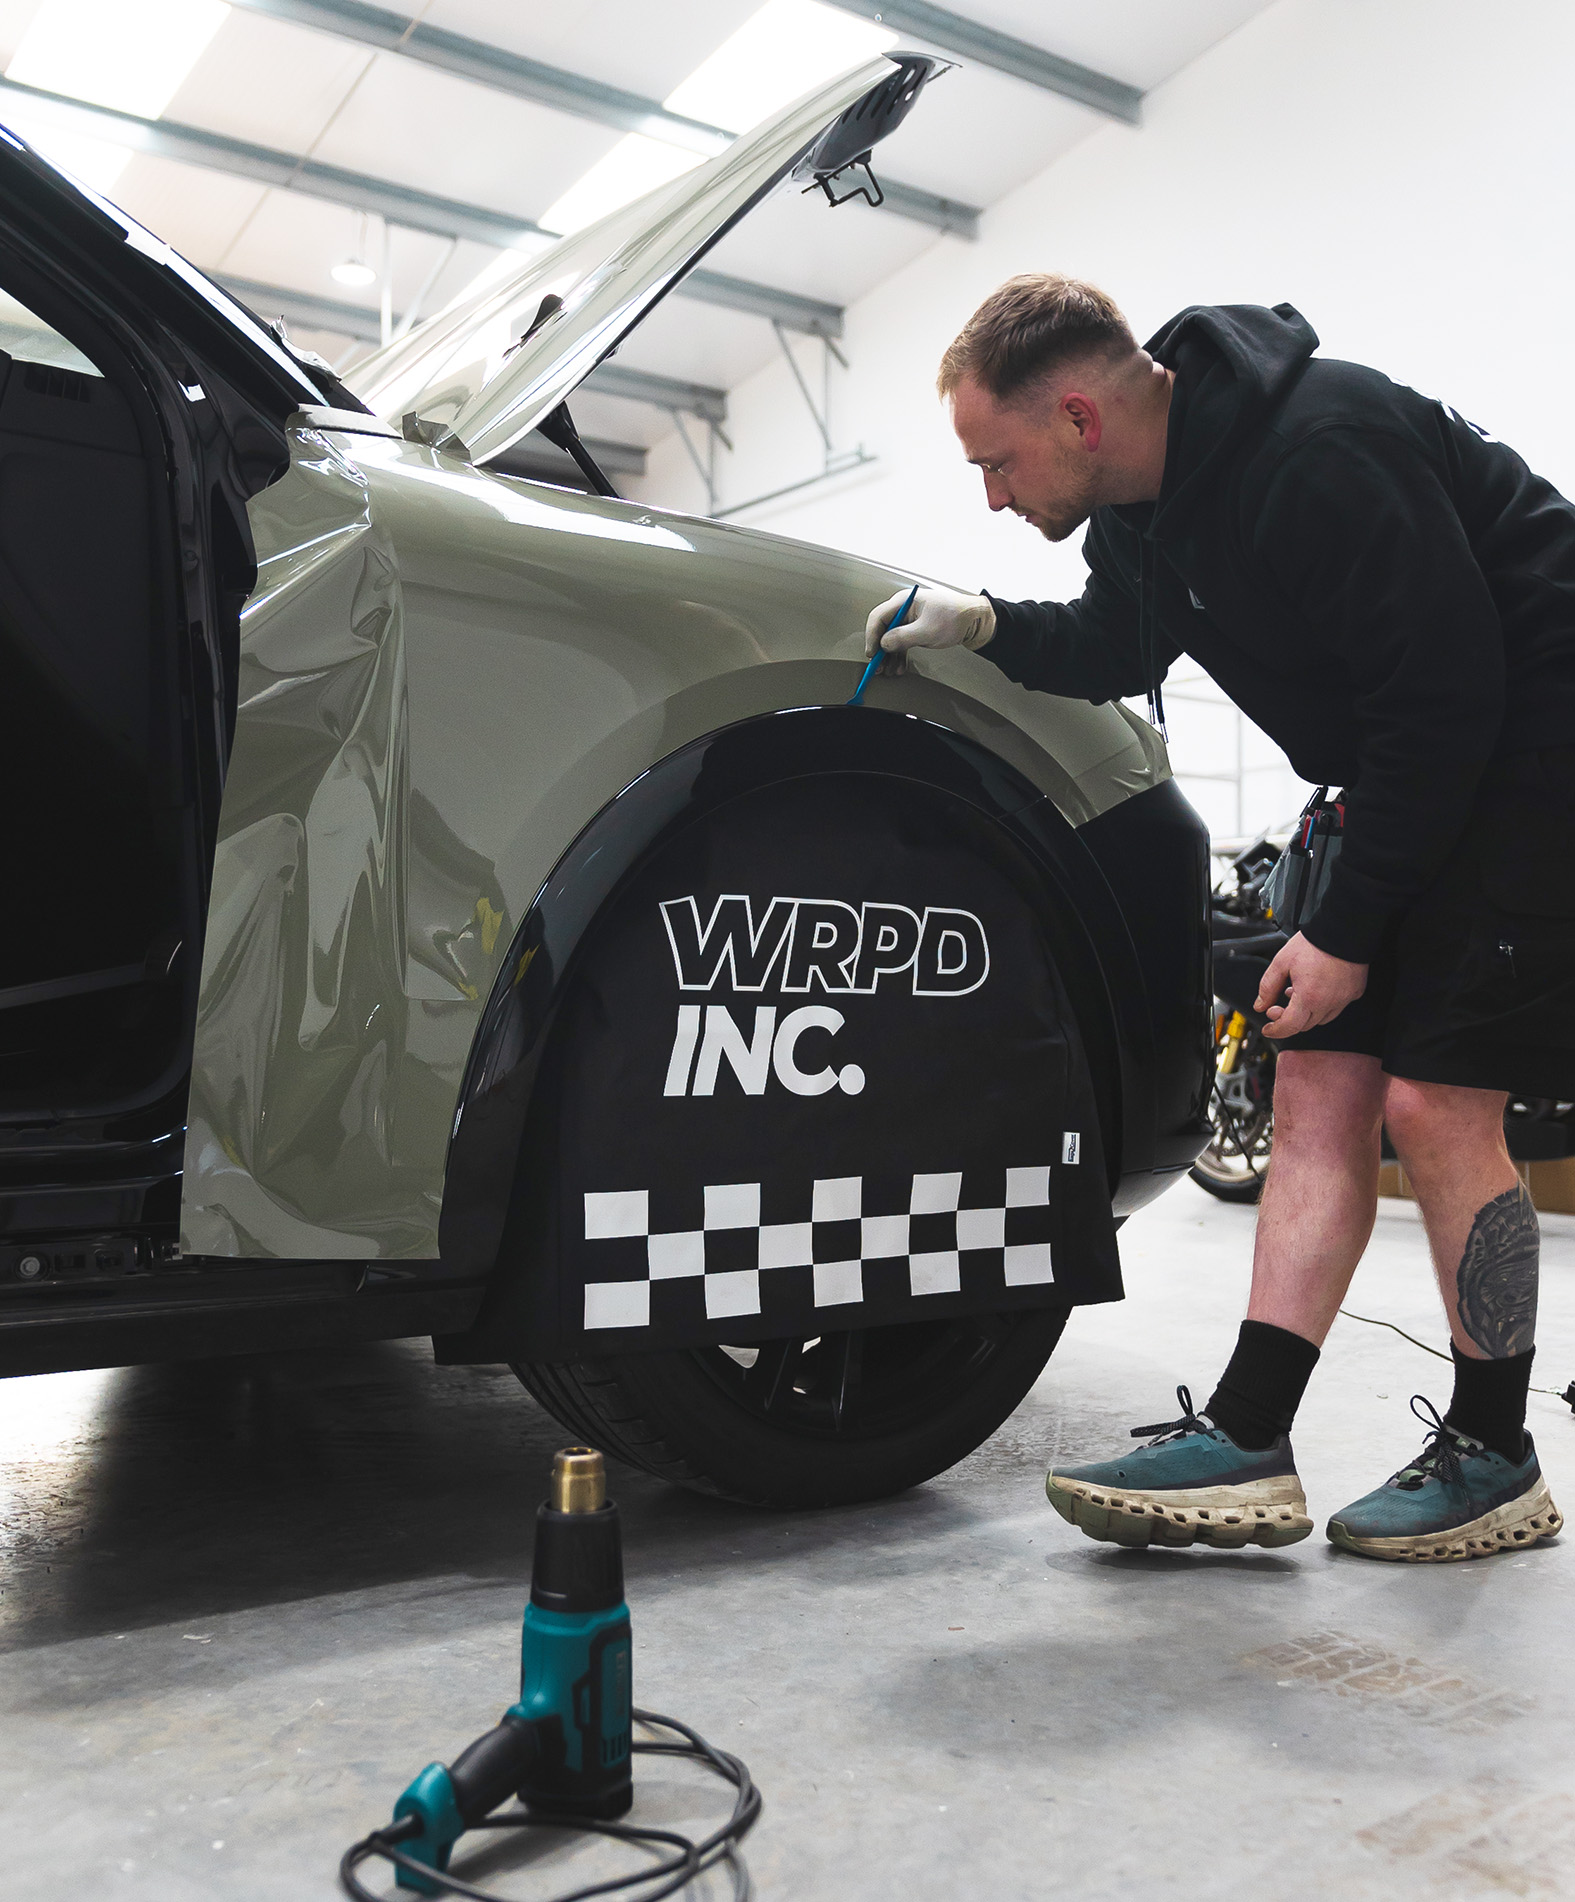
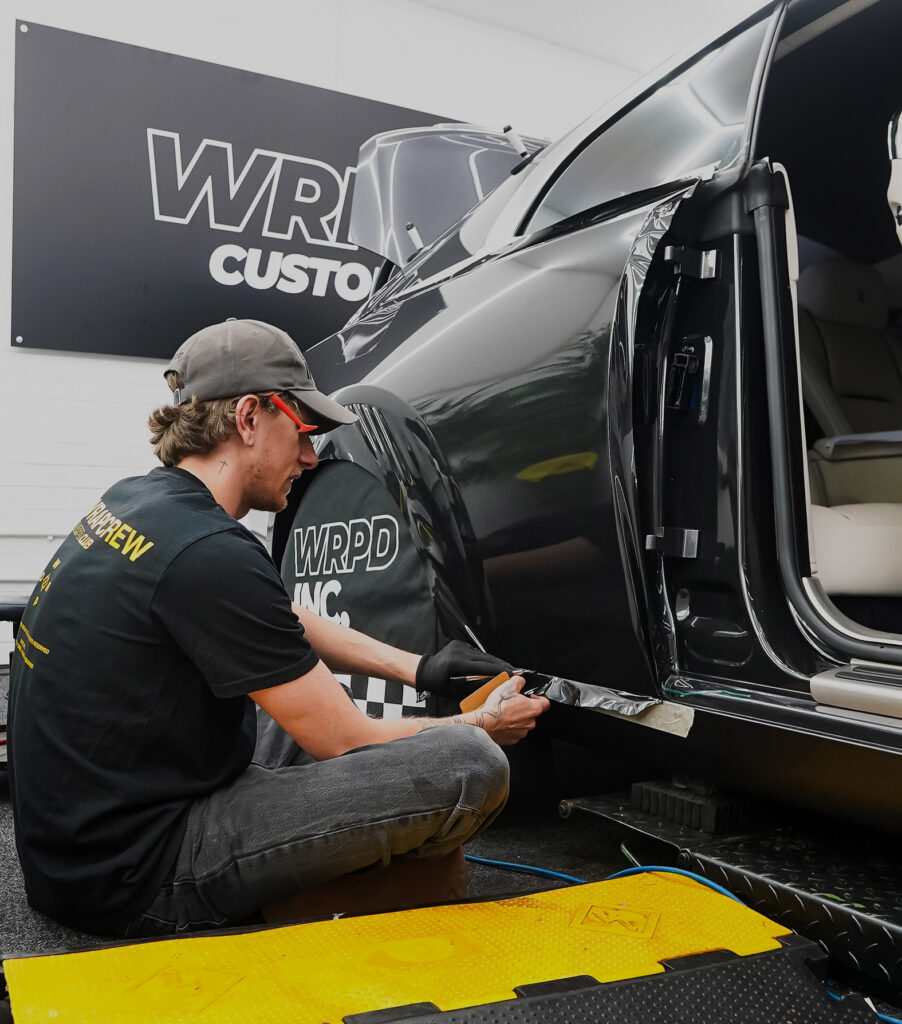
Installation
Our expert team meticulously carry out the installation of your chosen wrap material.
quailty control
Workshop management carry out our quailty control procedure before completion.
colour change process in detail
Step one:
vehicle check-in
Upon arrival at our workshop, you will be greeted by a member of the team who will check-in the vehicle, they will look over your vehicle, with you present in most cases, and record any damage or defects already present on the vehicle.
We record this with photographs of the vehicle from all sides, wheels and lights plus any exisiting marks or damage on the vehicle. We may advise any additional prep work here to ensure your vehicle wrap is of the highest quailty.
Step two:
deep clean and decontamination
Before any vehicle is wrapped, it goes through a meticulous cleaning process by our in-house vehicle detailer; no matter the vehicle’s age or condition.
Firstly, we carry out our safe wash procedure to remove any dirt and contamination from your vehicle’s paintwork. Larger parts of the vehicle may be removed before this wash, allowing for better access to all areas. This check also prevents us from bringing any unnecessary dirt into the workshop.
Once your vehicle is dry, we bring it into the workshop where it is parked in its allocated wrap bay. It will then be assigned to one of our senior technicians, who will manage the project and further strip-down any necessary external parts. They will label and carefully store the parts as they go.
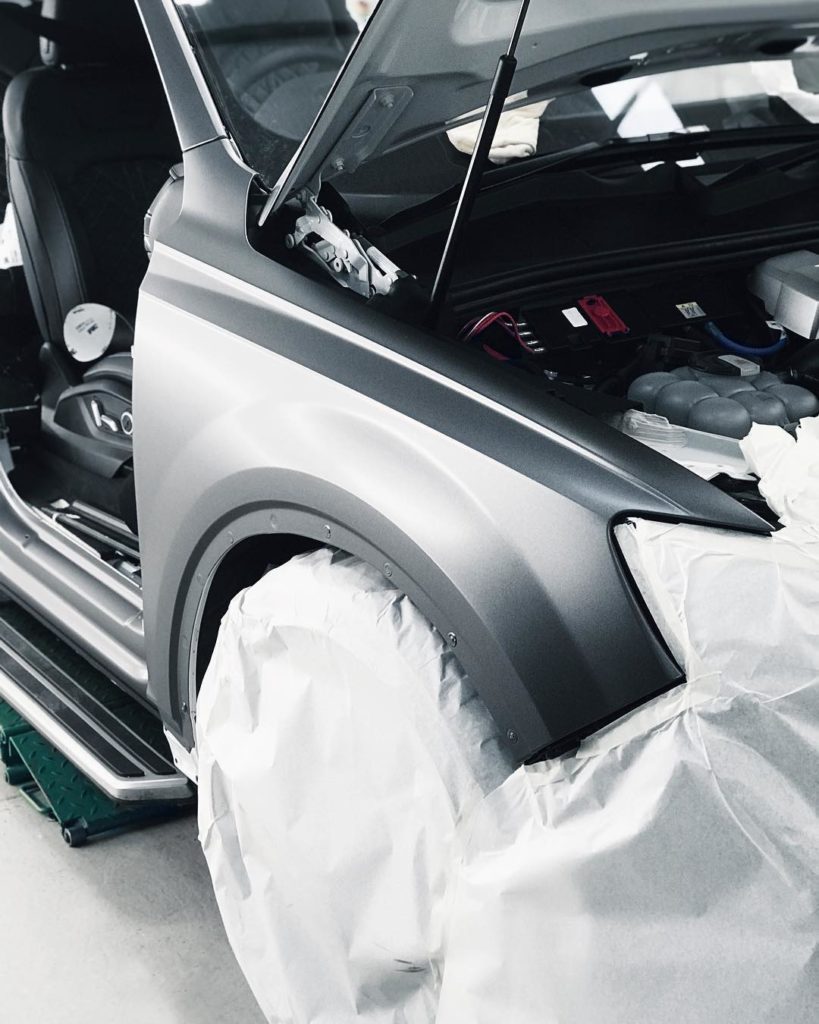
Step Three:
Dismantling and surface preparation
Throughout this process, our technicians are looking out for any additional damage, defects or missing parts that may or may not be present that we were not able to identify at the check-in stage.
If there are any areas of concern that we feel may affect the finish of your wrap, we will bring them to your attention. At this stage, you may want to utilise our vehicle detailing services to correct any issues. This methodical process enables us to provide the best finish and coverage for your vehicle.
Using a series of specialist surface cleaners, each panel is then prepared for the application of vinyl. Many vinyl manufacturers offer an approved surface preparation product, which is designed specifically for use with their vinyl.
We ensure that this surface cleaner is used as a final stage before any vinyl wrapping is applied to your vehicle. This also ensures that we are compliant with the manufacturer’s guarantee.
Step four:
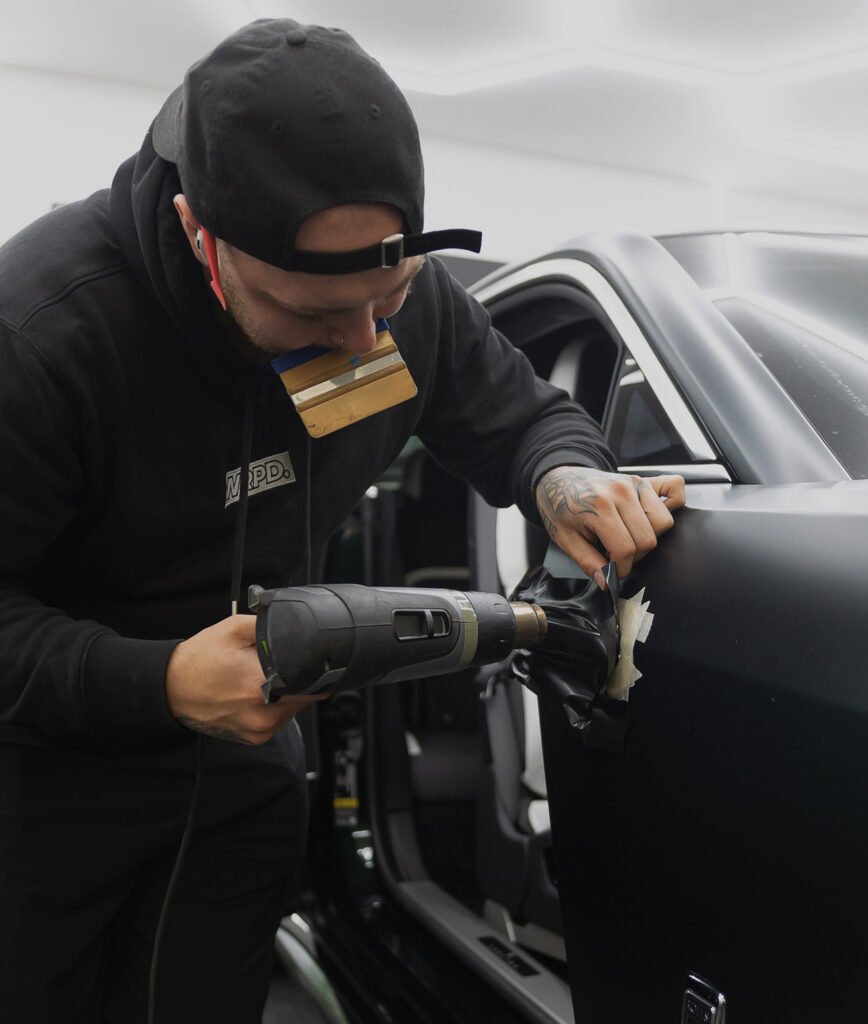
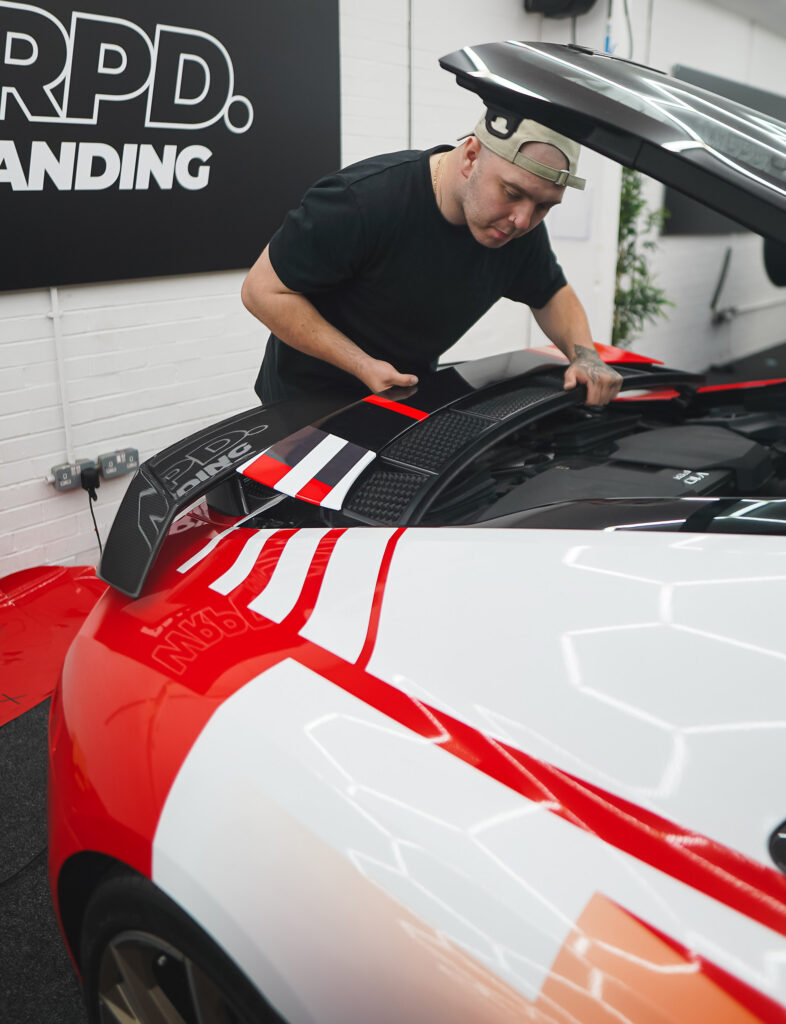
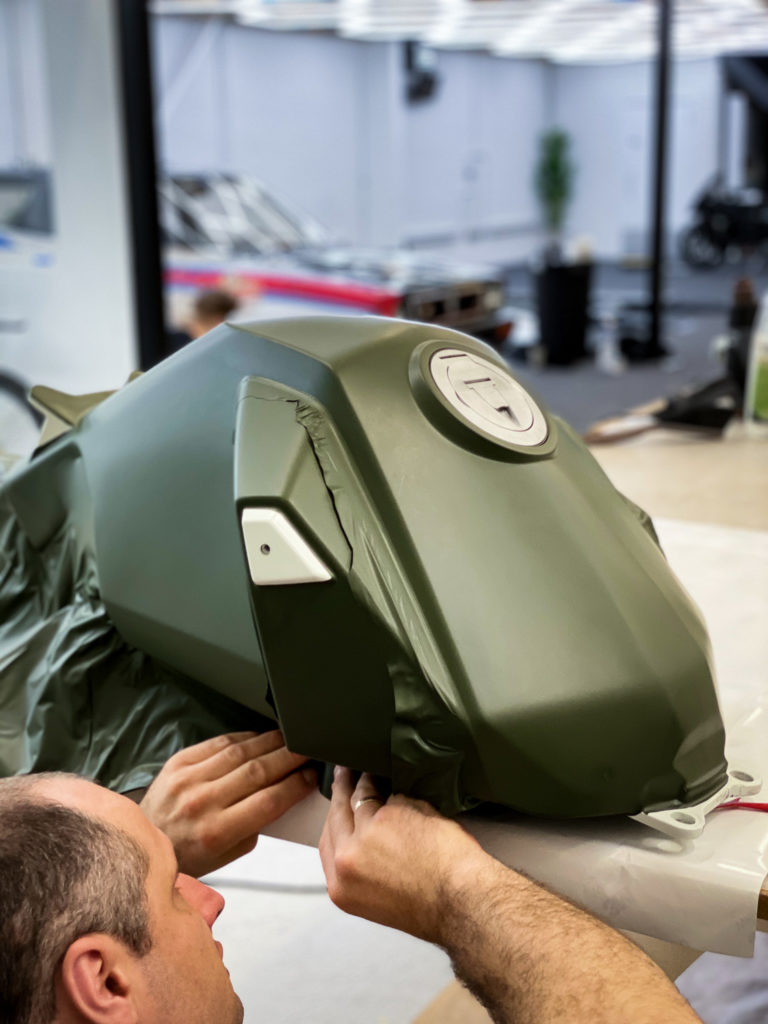
installation of your chosen film
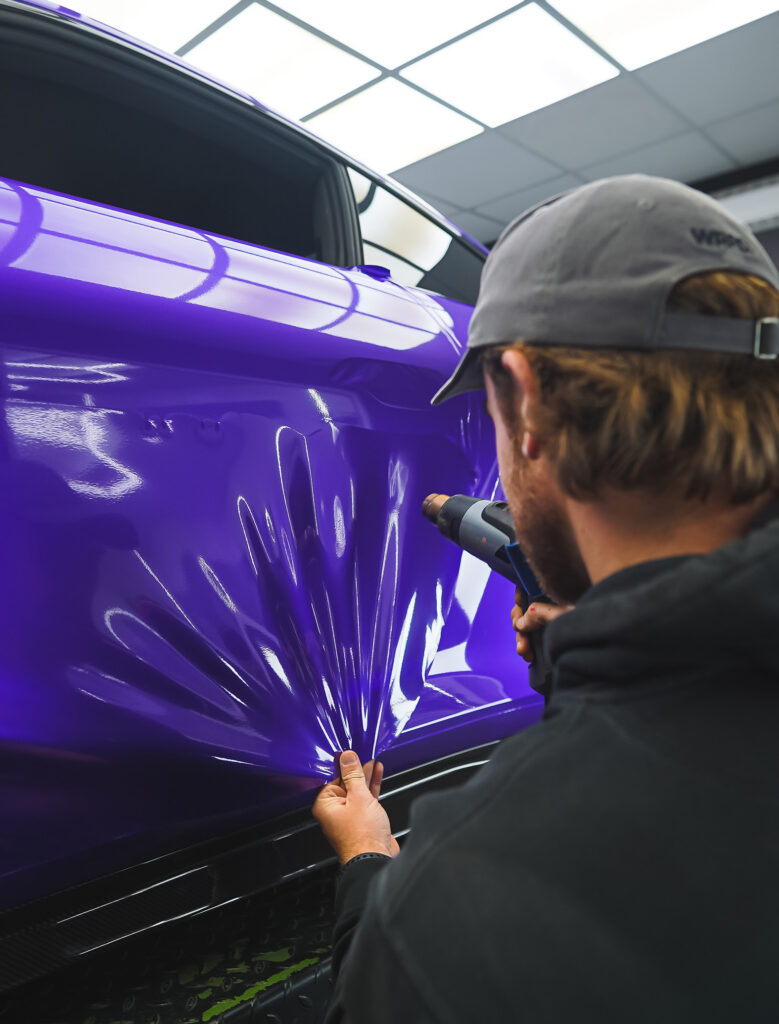
Our highly trained and experienced team will then proceed to wrap your vehicle, most jobs are complete with a two-man team, of course, sometimes an extra set of hands are required for large parts, bumper being a good example. Luckily, our large team are always on hand to assist one another.
This is a huge advantage when compared to smaller shops or one-man teams. This process not only means we can complete these areas quickly but means we also have the ability to be able to properly pre-stretch the vinyl before application, which means that your larger or more complex areas are unlikely to fail due to improper installation.
We back this up with generous installation warranties tailored to the product you have selected.
Each project has a detailed paper trail with a breakdown of the vehicle parts and a record of which technician is accountable for which areas on the vehicle.
This strict and careful procedure is a proven method of ensuring the same level of quality runs throughout the team and an optimum finish and longevity for your wrap.
Step Five:
quality control and final checks
Once the wrap is complete any exterior parts that have been removed are then refitted to the vehicle. It is then left overnight for the vinyl to properly adhere in our temperature-controlled workshop.
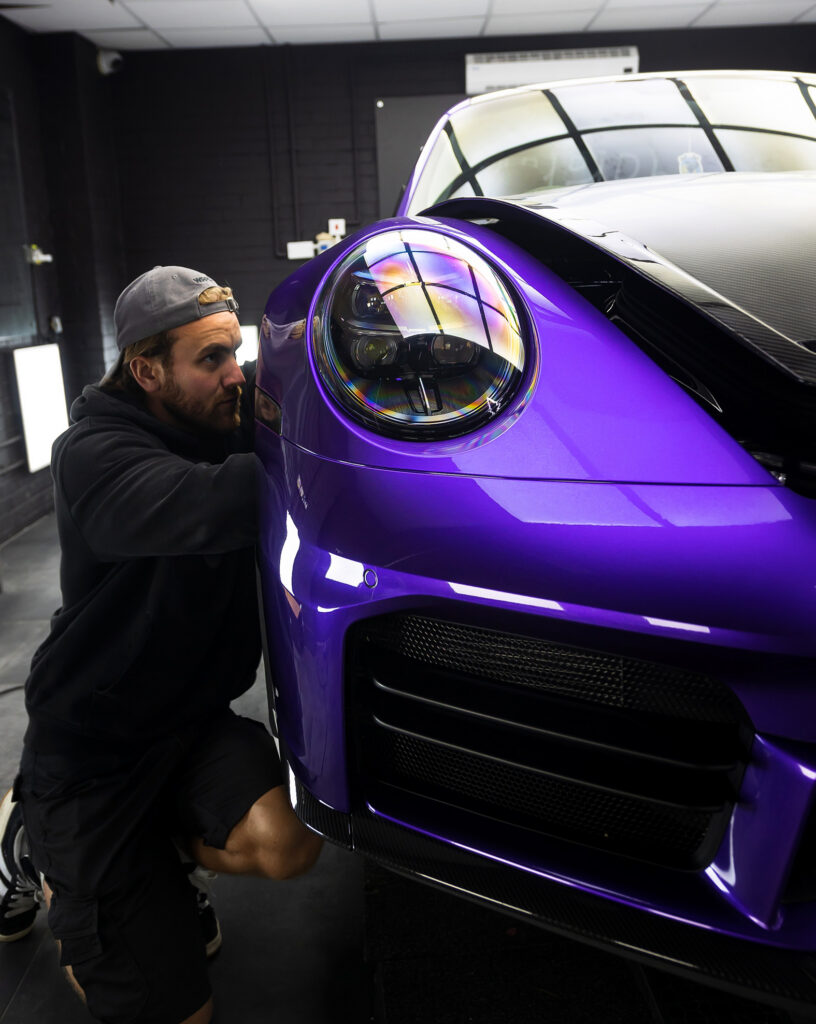
Finally, your new wrap goes through our quality control stage.
Our workshop manager will assess the quality of the wrap and any areas that do not meet our standard will be addressed. After a final detail, you will be invited to collect your freshly wrapped vehicle.
WHAT ARE THE COVERAGE OPTIONS?
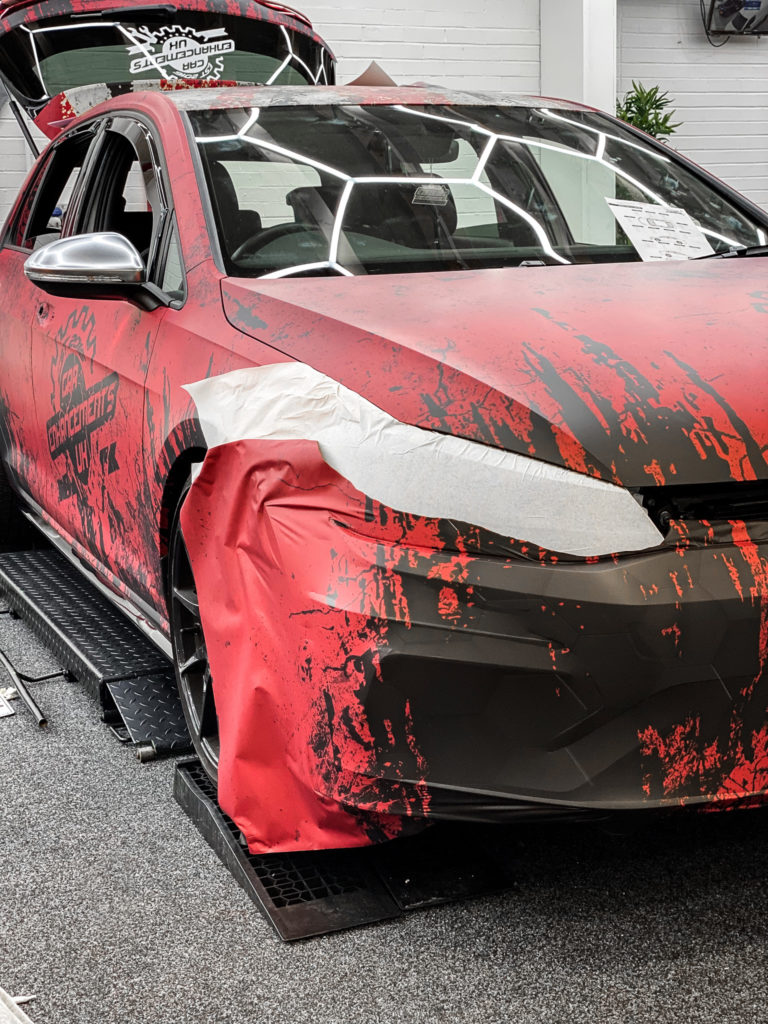
additional process for A printed wrap
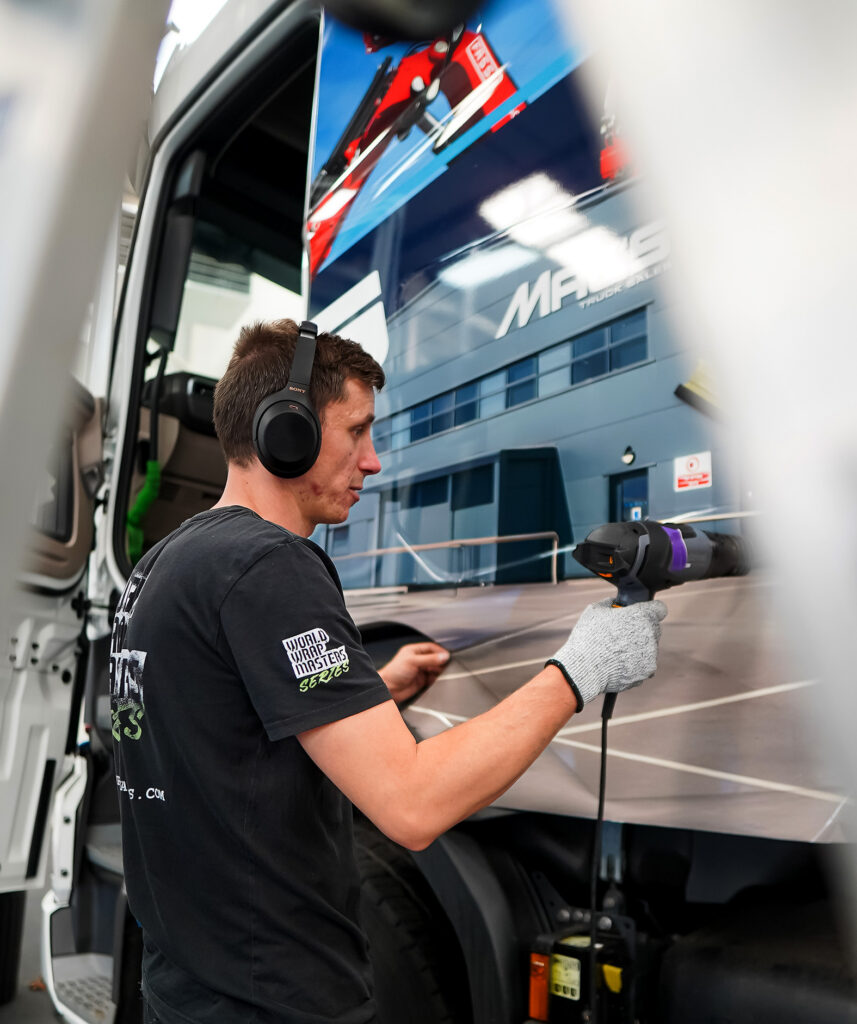
Like the above, printed wraps also require the same process in terms of preparation and application. Most printed wraps are exterior wraps only, so the level of coverage required isn’t that of a full-colour change wrap. Printed wraps, however, require an additional set of skills and knowledge in terms of design, production and installation.
Step one:
graphic design
If you are a commercial customer with a design or new business in need of full branding solutions, our in-house graphic design team are at your disposal. We offer extensive knowledge and experience in vehicle wrap design and can adapt any design you may currently have or produce something completely new to fit any vehicle type. Using our vehicle template software, we can quickly produce visuals to demonstrate how the wrap design will translate across a range of vehicles. Whatever your business needs, we can provide it. We can help you to be seen, and help your brand to be recognised.
Step Two:
design approval
Once you are completely happy with the design, and it has been signed off and booked in, we are ready to move on to the next step.
Your approved design will then be prepared for print, using our accurate templates, we scale up the artwork to 1:1 scale and create effectively wallpaper that covers each individual panel of the vehicle. Using the very latest in latex and solvent print technology we then select the best print format for the job. Factors that often affect this are turn around time and design complexity.
Step three:
print & production
Your artwork files are then loaded onto our print software and printed with regular checks into the print quality and colour. Once the vinyl is printed it is then spun out and stored vertically in our out-gassing chamber for a minimum period of 24hrs. This process is essential to ensure the longevity of your wrap and is the process of removing the gases present in the inks laid. Insufficient out-gassing of any prints, whether latex or solvent, can result in delamination and failure further down the line.
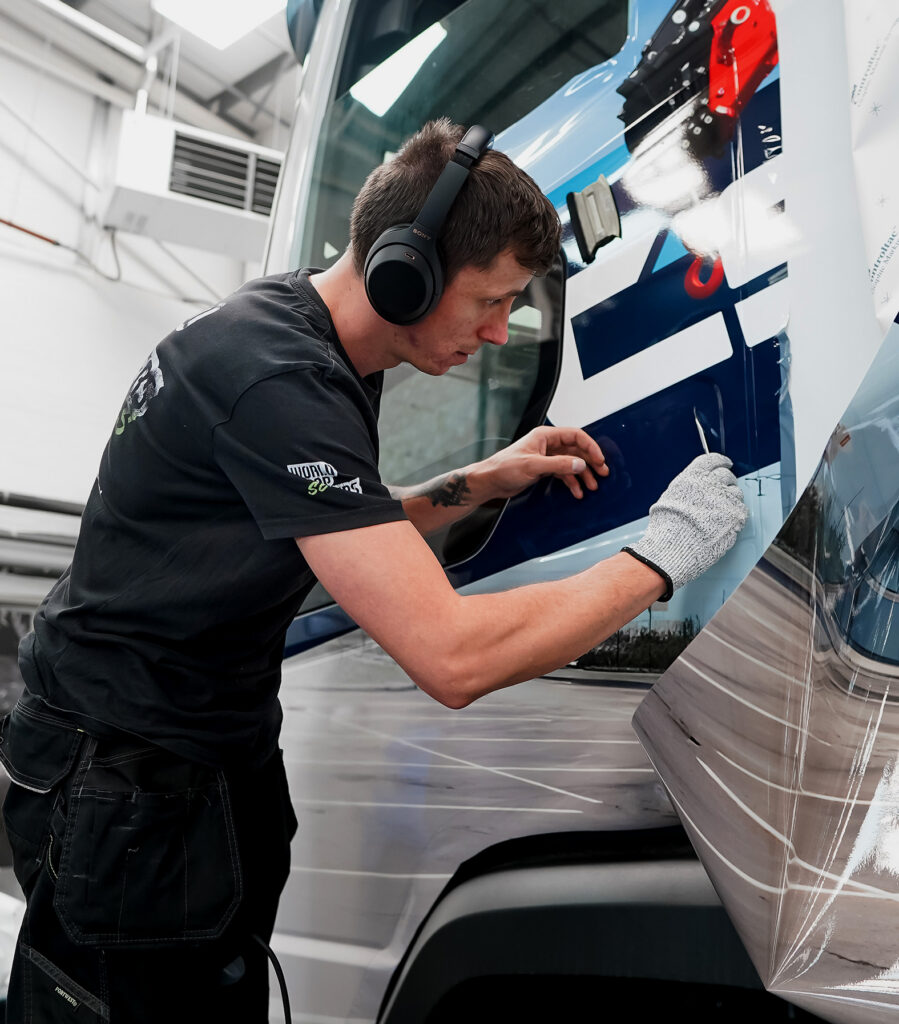
Once the prints are fully out-gassed we laminate with either a gloss or matte over-laminate as selected by the customer. The vinyl is then cut down into the individual panels, using detailed drawings and panel layout sheets to label the prints.
This is then all boxed up and ready for installation.
So, whether you want your personal car wrapping for a colour change or vehicle graphics, or you have a fleet of commercial vehicles wrapped for a vehicle livery design, we are ready. We offer a professional service that never fails to deliver.
Remember that wrapping is a cost-effective and clever advertising option, compared to traditional vehicle livery and signwriting. It also helps protect your vehicle from chips and scratches to the paintwork, and can be removed when you require it to be, unlike a re-spray which is permanent.
Start Your Project
Request a Quote.
Like what you see?
Please do get in touch using the form below, a member of our dedicated sales team will aim to get back to you as quickly as possible.
To enable us to come back to you with a quick and accurate response, we encourage you to attach a couple of photos of your vehicle, this will quickly answer any questions we may have.
CALL US